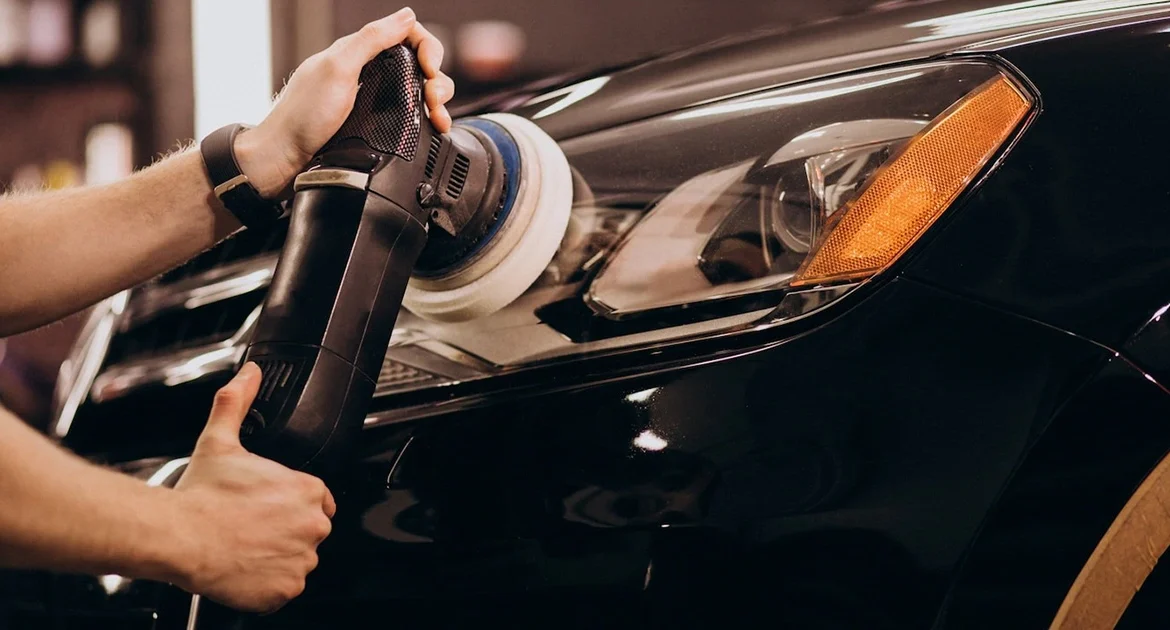
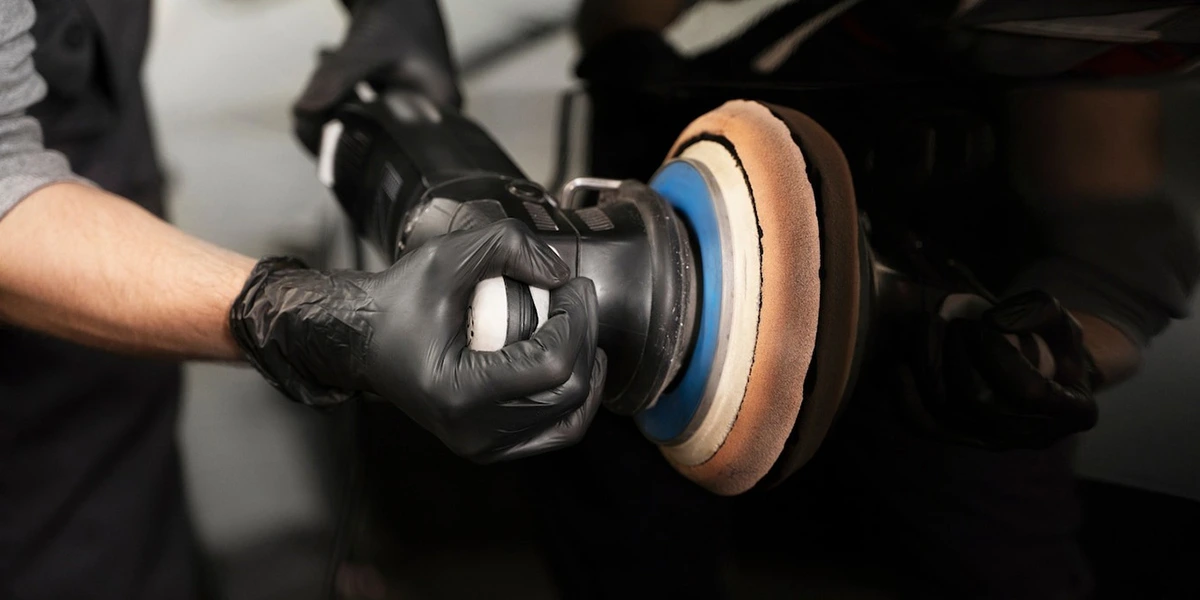
Car detailing plays a crucial role in maintaining a vehicle’s appearance and preserving its value. Among the many detailing techniques, cut and polish is a standout procedure that effectively removes scratches, swirl marks, and imperfections from a car’s paintwork, leaving behind a glossy, flawless surface. In this post, we’ll explore the benefits of cut and polish and highlight one of the exceptional products we use at RNA to deliver professional-quality results: the Rupes UNO Protect.
What is Cut and Polish?
Cut and polish, also known as paint correction, is a specialized process aimed at restoring a vehicle’s paintwork to its former glory. This involves using professional-grade polishing tools, abrasive pads, compounds, and microfiber cloths to eliminate defects and enhance the surface’s gloss.
The Process Explained:
- Cutting:
This step removes a thin layer of paint using polishing tools and abrasive pads to eliminate scratches and imperfections. - Polishing:
A less abrasive pad and compound are then used to refine the surface, bringing back its smoothness and shine.
Benefits of Cut and Polish
- Enhanced Appearance:
By removing imperfections like scratches and swirl marks, cut and polish significantly improve the car’s overall aesthetic. - Long-Term Paint Protection:
The process helps protect the paint from damage caused by oxidation and rust, extending the car’s lifespan. - Value Retention:
A well-maintained exterior boosts resale value by making the vehicle look newer and more appealing.
Introducing Rupes UNO Protect
The Rupes UNO Protect is a revolutionary all-in-one product that combines a compound, polish, and protectant into a single solution. Designed for efficiency and professional results, it removes moderate-to-light imperfections while delivering a glossy, protected finish in just one step.
Key Features and Benefits:
- Polished Perfection:
Achieves a high gloss shine with rich color depth thanks to a premium blend of polymers, silicone, and carnauba wax. - Durable Protection:
Provides a protective layer that lasts up to 90 days, safeguarding the paint against environmental damage. - Ease of Use:
Simple to apply and remove, making it ideal for both professionals and car enthusiasts.
With cut and polish, combined with the superior performance of Rupes UNO Protect, you can maintain your car’s showroom shine and protect it for the long term. Whether you’re a detailing professional or a car owner looking to enhance your vehicle’s appearance, this process and product deliver exceptional results.
When it comes to restoring the shine and brilliance of your car’s exterior, few techniques are as effective as cutting and polishing your car. Often referred to as “paint correction," this process involves carefully removing imperfections from the surface of your car’s paint and restoring it to its original glory—or perhaps even better than new. In this comprehensive guide, we’ll explore everything you need to know about cut and polish, why it’s essential for maintaining your car’s appearance, and how to achieve professional-level results.
What Is Cutting and Polishing (Cut and Polish)?
Cutting and polishing, or cut and polish, is a two-step process designed to restore the paintwork on a vehicle. It is part of the broader category of paint correction and involves removing imperfections such as swirl marks, scratches, oxidation, and water spots, followed by refining and enhancing the paint’s gloss.
Cutting
Cutting is the process of using an abrasive compound to remove a very thin layer of clear coat or paint from the car’s surface. This step eliminates surface-level imperfections like scratches, oxidation, and other blemishes that dull the paint.
Polishing
Polishing, on the other hand, is all about refining the surface after cutting. This step smoothens the paint, enhances the gloss, and leaves the surface looking pristine. It’s the step that brings out the deep, mirror-like shine.
Why Should You Cut and Polish Your Car?
- Restore Shine and Gloss
Over time, exposure to sunlight, road grime, and pollutants can dull your car’s paintwork. Cutting and polishing can help restore its original shine, making it look brand new. - Remove Imperfections
Scratches, swirl marks, water spots, and oxidation are common issues that mar a car’s appearance. Cutting and polishing effectively remove these imperfections, improving the overall look of your vehicle. - Increase Resale Value
If you plan to sell your car, a cut and polish can significantly enhance its appearance, making it more appealing to potential buyers and potentially increasing its resale value. - Protect the Paint
By removing contaminants and imperfections, cutting, and polishing, prepare your car’s surface for wax or ceramic coating, which helps protect the paint from future damage.
Signs Your Car Needs Cutting and Polishing
- Faded or Dull Paint:
UV exposure and oxidation can make your car’s paint lose its vibrancy. - Swirl marks and scratches:
Visible marks from improper washing techniques or contact with rough surfaces. - Water Spots:
Leftover marks from water that dried on the paint. - Oxidation:
A chalky or cloudy appearance on the paint due to exposure to sunlight and air over time.
Tools and Materials Needed for Cutting and Polishing
To achieve professional results when cutting and polishing your car, you’ll need the following:
- Cutting Compounds
These are abrasive pastes designed to remove imperfections. Choose a compound based on the severity of the damage (e.g., heavy, medium, or light cut). - Polishing Compounds
Polishing compounds are less abrasive and are used to refine and enhance the finish after cutting. - Dual-Action Polisher or Rotary Polisher
A machine polisher helps save time and effort while providing consistent results. - Cutting and Polishing Pads
Foam or microfiber pads are attached to the polisher, and the compounds are applied. Different pads are designed for cutting and polishing. - Microfiber Cloths
High-quality microfiber towels are essential for wiping off excess compound and buffing the surface. - Masking Tape
Used to protect trim, emblems, and other non-painted areas of the car during the process. - Detailing Spray
For cleaning and prepping the surface before and after cutting and polishing. - Lighting
Proper lighting is crucial to identify imperfections and evaluate progress.
Step-by-Step Guide to Cutting and Polishing Your Car
Step 1: Wash and Decontaminate the Car
Start by giving your car a thorough wash to remove dirt, grime, and debris. Use a clay bar or clay mitt to remove embedded contaminants for a smooth surface.
Step 2: Inspect the Paintwork
Under proper lighting, inspect your car’s surface for scratches, swirl marks, oxidation, and other imperfections. This will help you identify areas that need more attention.
Step 3: Mask Off Non-Painted Areas
Use masking tape to cover areas like rubber seals, plastic trims, and emblems to protect them from damage during the process.
Step 4: Apply the Cutting Compound
- Attach a cutting pad to your polisher and apply a small amount of cutting compound to the pad.
- Work on a small section at a time, starting with the most damaged areas.
- Spread the compound evenly across the surface, then use the polisher at a low speed to work it into the paint. Gradually increase the speed to remove imperfections.
Step 5: Wipe Off Residue
Use a microfiber cloth to wipe away the residue and check your progress. Repeat the process if necessary until the imperfections are removed.
Step 6: Switch to Polishing
- Replace the cutting pad with a polishing pad and apply a polishing compound.
- Follow the same process, working in small sections to refine the finish and enhance the gloss.
Step 7: Inspect the Results
After polishing, inspect your car under different lighting conditions to ensure all imperfections are gone and the surface has a uniform shine.
Step 8: Protect the Paint
Apply a wax, sealant, or ceramic coating to protect the newly corrected paintwork and maintain its glossy appearance for longer.
DIY vs. Professional Cutting and Polishing
While cutting and polishing your car can be done at home, there are pros and cons to both DIY and professional services.
DIY
- Pros:
- Cost-effective
- Great for minor imperfections
- Provides a sense of accomplishment
- Cons:
- Requires time and effort
- Risk of damaging the paint if done incorrectly
- May not achieve professional-level results
Professional Service
- Pros:
- Expertise and high-quality equipment
- Guaranteed results
- Saves time and effort
- Cons:
- More expensive than DIY
- Requires leaving your car with the service provider
Tips for Success When Cutting and Polishing Your Car
- Work in the Shade
Always work in a shaded area to prevent compounds from drying too quickly. - Start with the Least Aggressive OptionBegin
With a light-cutting compound and pad. If the imperfections persist, move to a more aggressive option. - Keep the Polisher Moving
Avoid leaving the polisher in one spot for too long, as this can cause heat buildup and damage the paint. - Clean Pads Frequently
Dirty pads can cause swirl marks and reduce the effectiveness of the process. Clean them regularly during use. - Take Your TimeRushing
The process can lead to uneven results or missed spots.
How Often Should You Cut and Polish Your Car?
The frequency of cutting and polishing depends on the condition of your car’s paint and how well it’s maintained. As a general rule, you shouldn’t perform a cut and polish more than once or twice a year, as excessive cutting can thin the clear coat and damage the paint. Regular washing, waxing, and proper maintenance can help prolong the effects of cutting and polishing.
Cost of Cutting and Polishing a Car
The cost of cutting and polishing varies based on factors such as the size of the vehicle, the severity of the paint damage, and whether you choose to do it yourself or hire a professional.
- DIY Costs: $50–$200 (for materials and tools)
- Professional Service Costs: $200-$800+
Maintaining the Results of Cutting and Polishing
After completing a cut and polish, it’s essential to maintain your car’s appearance with the following steps:
- Regular Washing:
Use a pH-balanced car shampoo and the two-bucket method to avoid introducing new scratches. - Apply Wax or Sealant:
Protect the paint and enhance its gloss with a quality wax or sealant. - Avoid Harsh Environments:
Whenever possible, park in shaded or covered areas to minimize UV exposure.
Cutting and polishing your car is an excellent way to restore its paintwork and enhance its appearance. Whether you’re a car enthusiast looking to maintain your pride and joy or someone preparing their vehicle for sale, a cut and polish can make a world of difference. With the right tools, techniques, and a bit of patience, you can achieve a professional-quality finish that will turn heads wherever you go.
By investing time and effort into cutting and polishing your car, you not only improve its aesthetics but also extend the life of its paint, ensuring it remains in pristine condition for years to come.


Leave a Reply